SOUND QUALITY / Audacity
Noise reduction is most useful when the noise is relatively steady and the voice remains clear enough to preserve. An aggressive setting can trade an obvious hiss for a less obvious but more distracting damaged voice.
Identify the kind of noise
Audacity's manual describes noise reduction as suitable for steady background sounds such as hiss or hum, with important limits for irregular noise. Listen to a quiet passage and a spoken passage before processing. Traffic bursts, overlapping voices and clipped peaks are different problems. Choosing an effect because its name sounds relevant is less useful than identifying what is actually wrong.
Use a representative noise sample
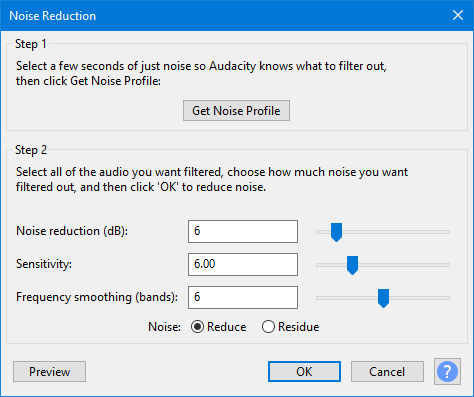
The documented process begins with a noise-only selection to establish a profile. Choose a section that represents the background you want to reduce, without speech or other wanted sound. If the recording environment changes significantly, one sample may not represent the entire file. Keep the original and try a short section before processing everything.
Compare the voice, not just the pause
A silent gap can sound impressively clean while the words become thin, metallic or unstable. Compare the processed and original versions at similar listening levels. Pay attention to consonants and the ends of words. Reduce the processing if it makes speech harder to follow. A little consistent room sound is often less distracting than audible processing artifacts.
Know when to record again
If the noise overwhelms the voice, another take in a quieter position may be more effective than repeated effects. Move away from the source of steady noise where practical and make a short test recording. The aim is not to promise perfect restoration; it is to choose the simplest route to intelligible audio. Documented controls and interfaces can vary between Audacity releases.
A small check to try
- Identify steady versus irregular noise.
- Test processing on a short copy.
- Listen to the words as carefully as the quiet gaps.